SwiftUI Basics - Weather App
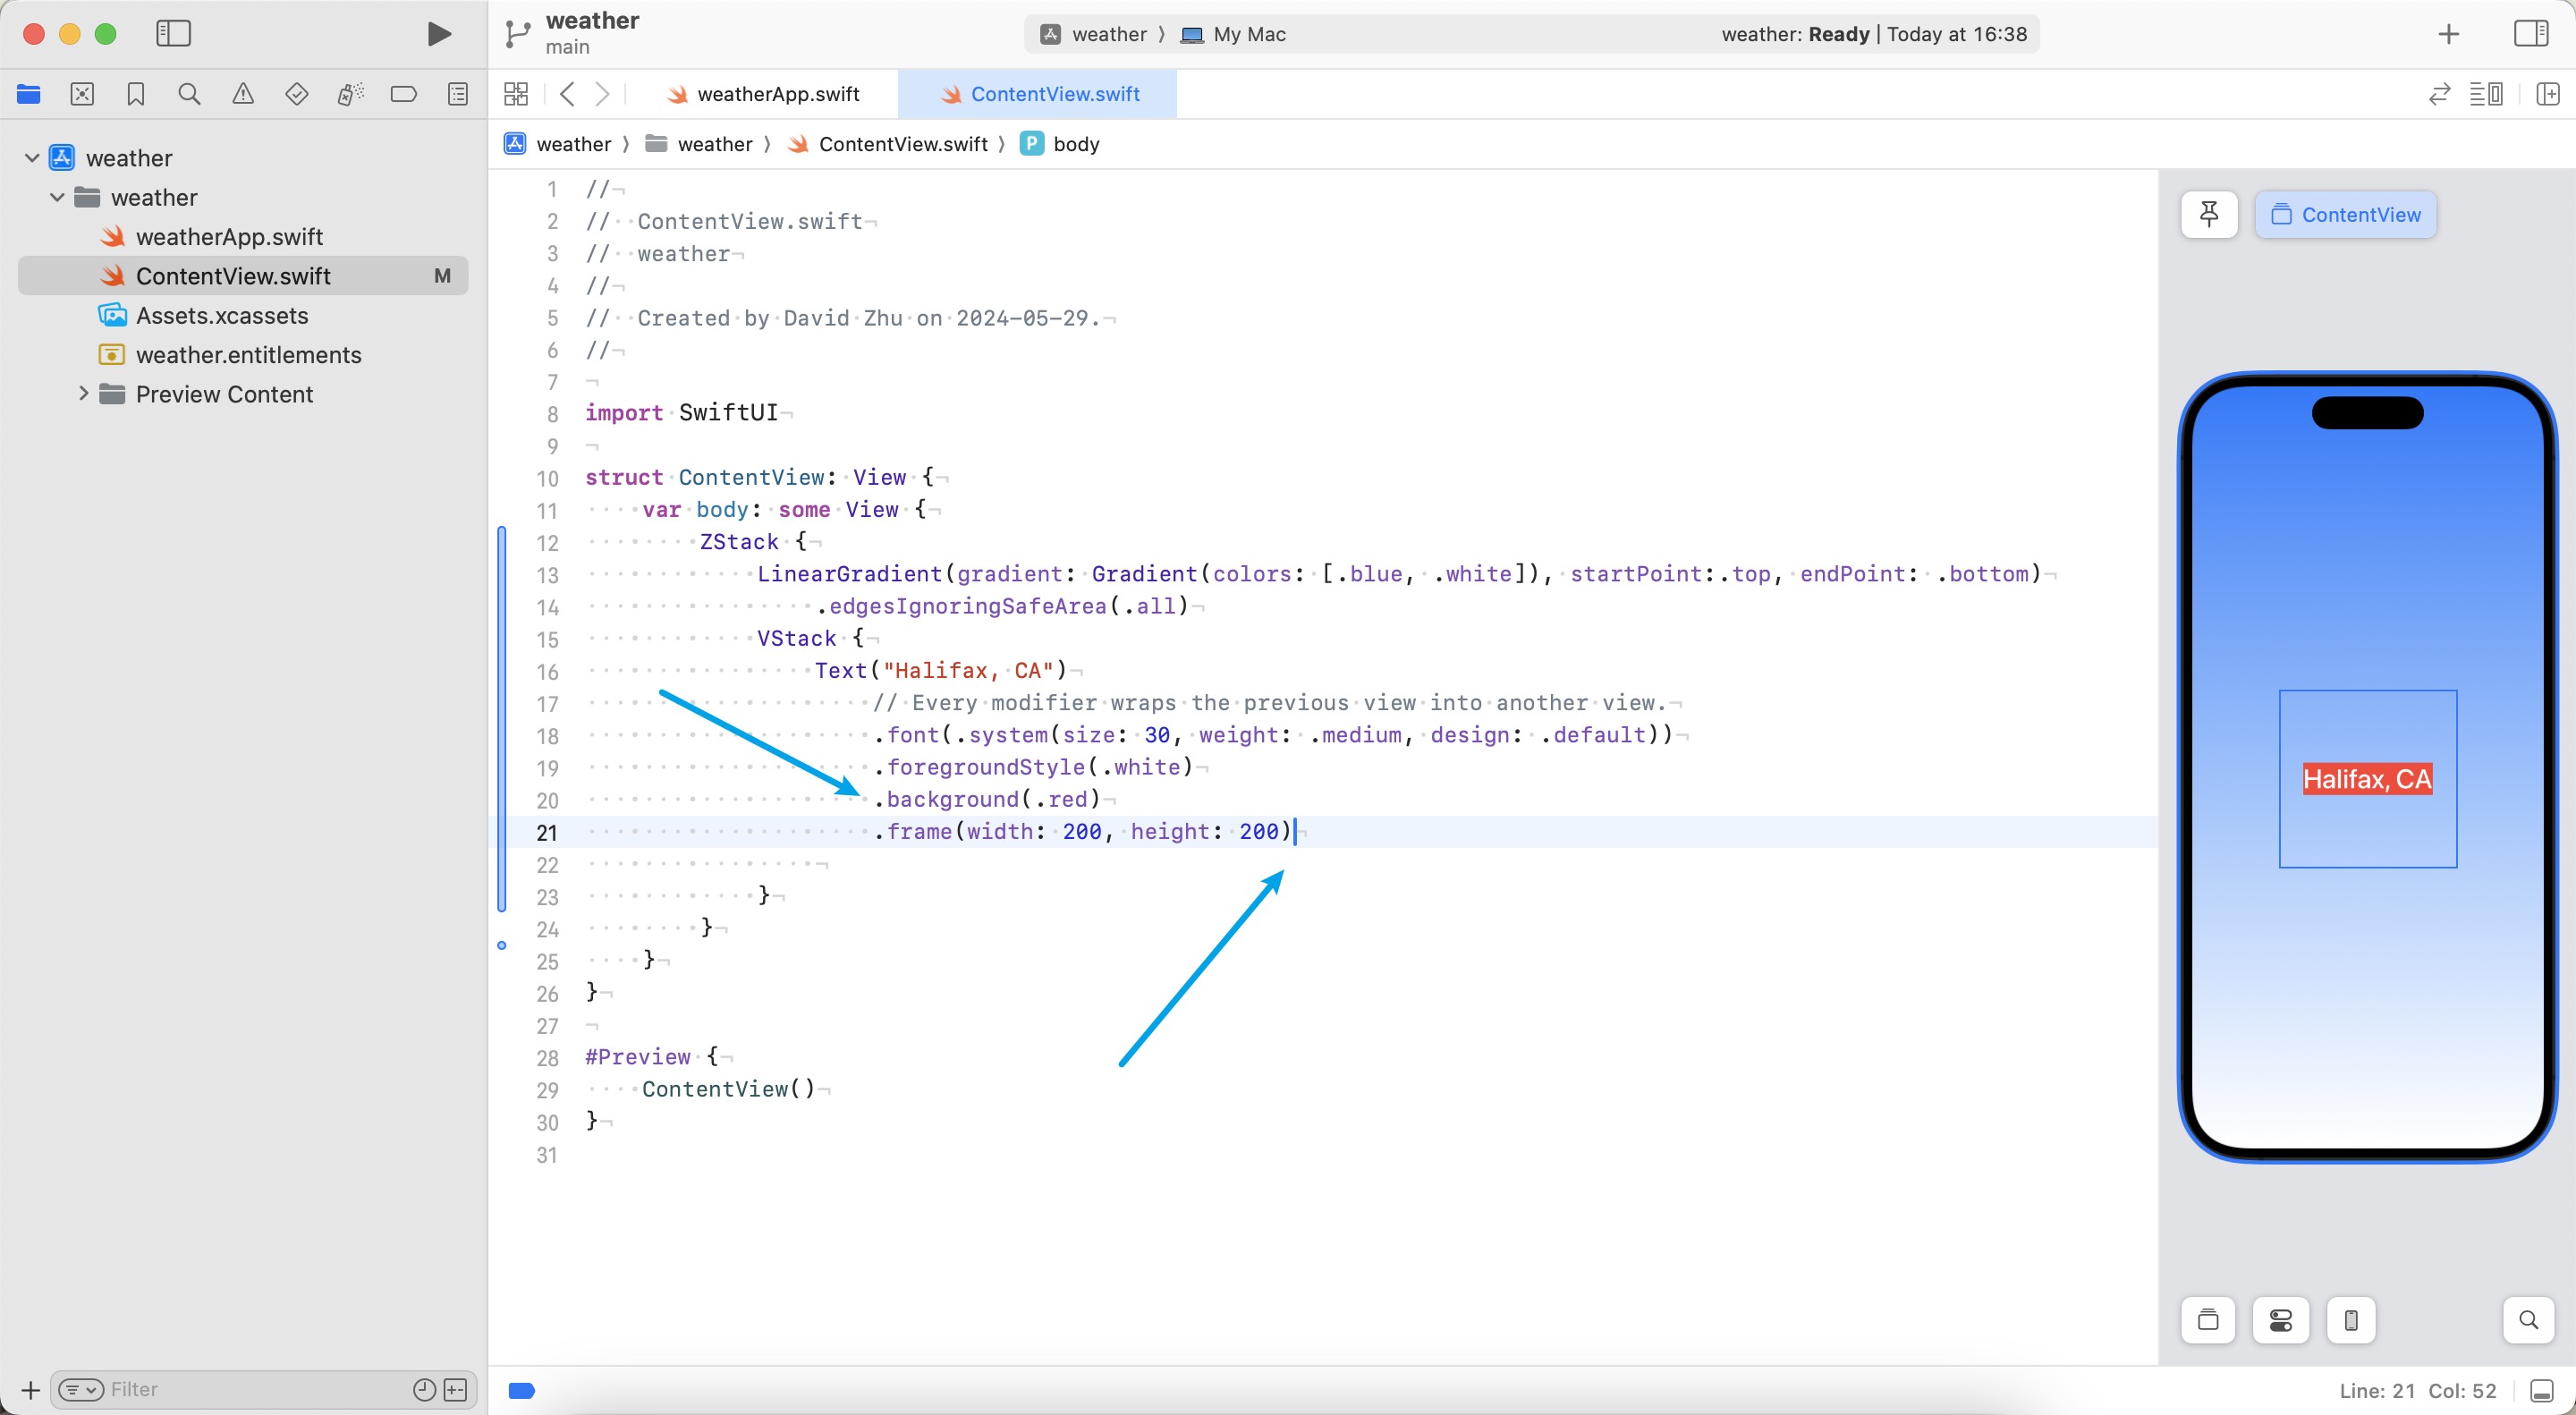
1. The Order of Applying Modifiers matters#
可以看出 background 并没有作用在 frame 上, 即每个 modifier 都是返回了一个新的视图, 当前 modifier 都是作用在了前面的视图上, 所以使用 modifier 的顺序会影响最终视图的结果,
2. Image & Space#
把 Spacer() 理解成一个双向弹簧, 负责挤压元素
3. Background Color - LinearGradient#
struct BackgroundView: View {
    var isNight: Bool

    var body: some View {
        LinearGradient(gradient: Gradient(colors: [isNight ? .black : .blue, isNight ? .gray : .white]), startPoint:.top, endPoint: .bottom)
            .edgesIgnoringSafeArea(.all)
    }
}

// 在 ZStack 中创建背景实例
ZStack {
  BackgroundView(isNight: false)
  // 其他组件...
}
除了 LinearGradient() 还可以使用ContainerRelativeShape()创建背景, 另外颜色也有 .gradient 属性, 即不用像上面那样手动指定开头结尾了, 比较简洁但失去了定制性.
struct BackgroundView: View {
    var isNight: Bool

    var body: some View {
        ContainerRelativeShape()
            .fill(.blue.gradient) // 颜色可以用 .gradient
            .ignoresSafeArea()  // 背景全屏
    }
}
4. 读文档#
Button {
    print("hello")
} label: {
    Text("Change Location")
        .frame(width: 280, height: 50)
        .background(.white)
        .font(.system(size: 20, weight: .bold, design: .default))
        .clipShape(RoundedRectangle(cornerSize: CGSize(width: 10, height: 10)))
}
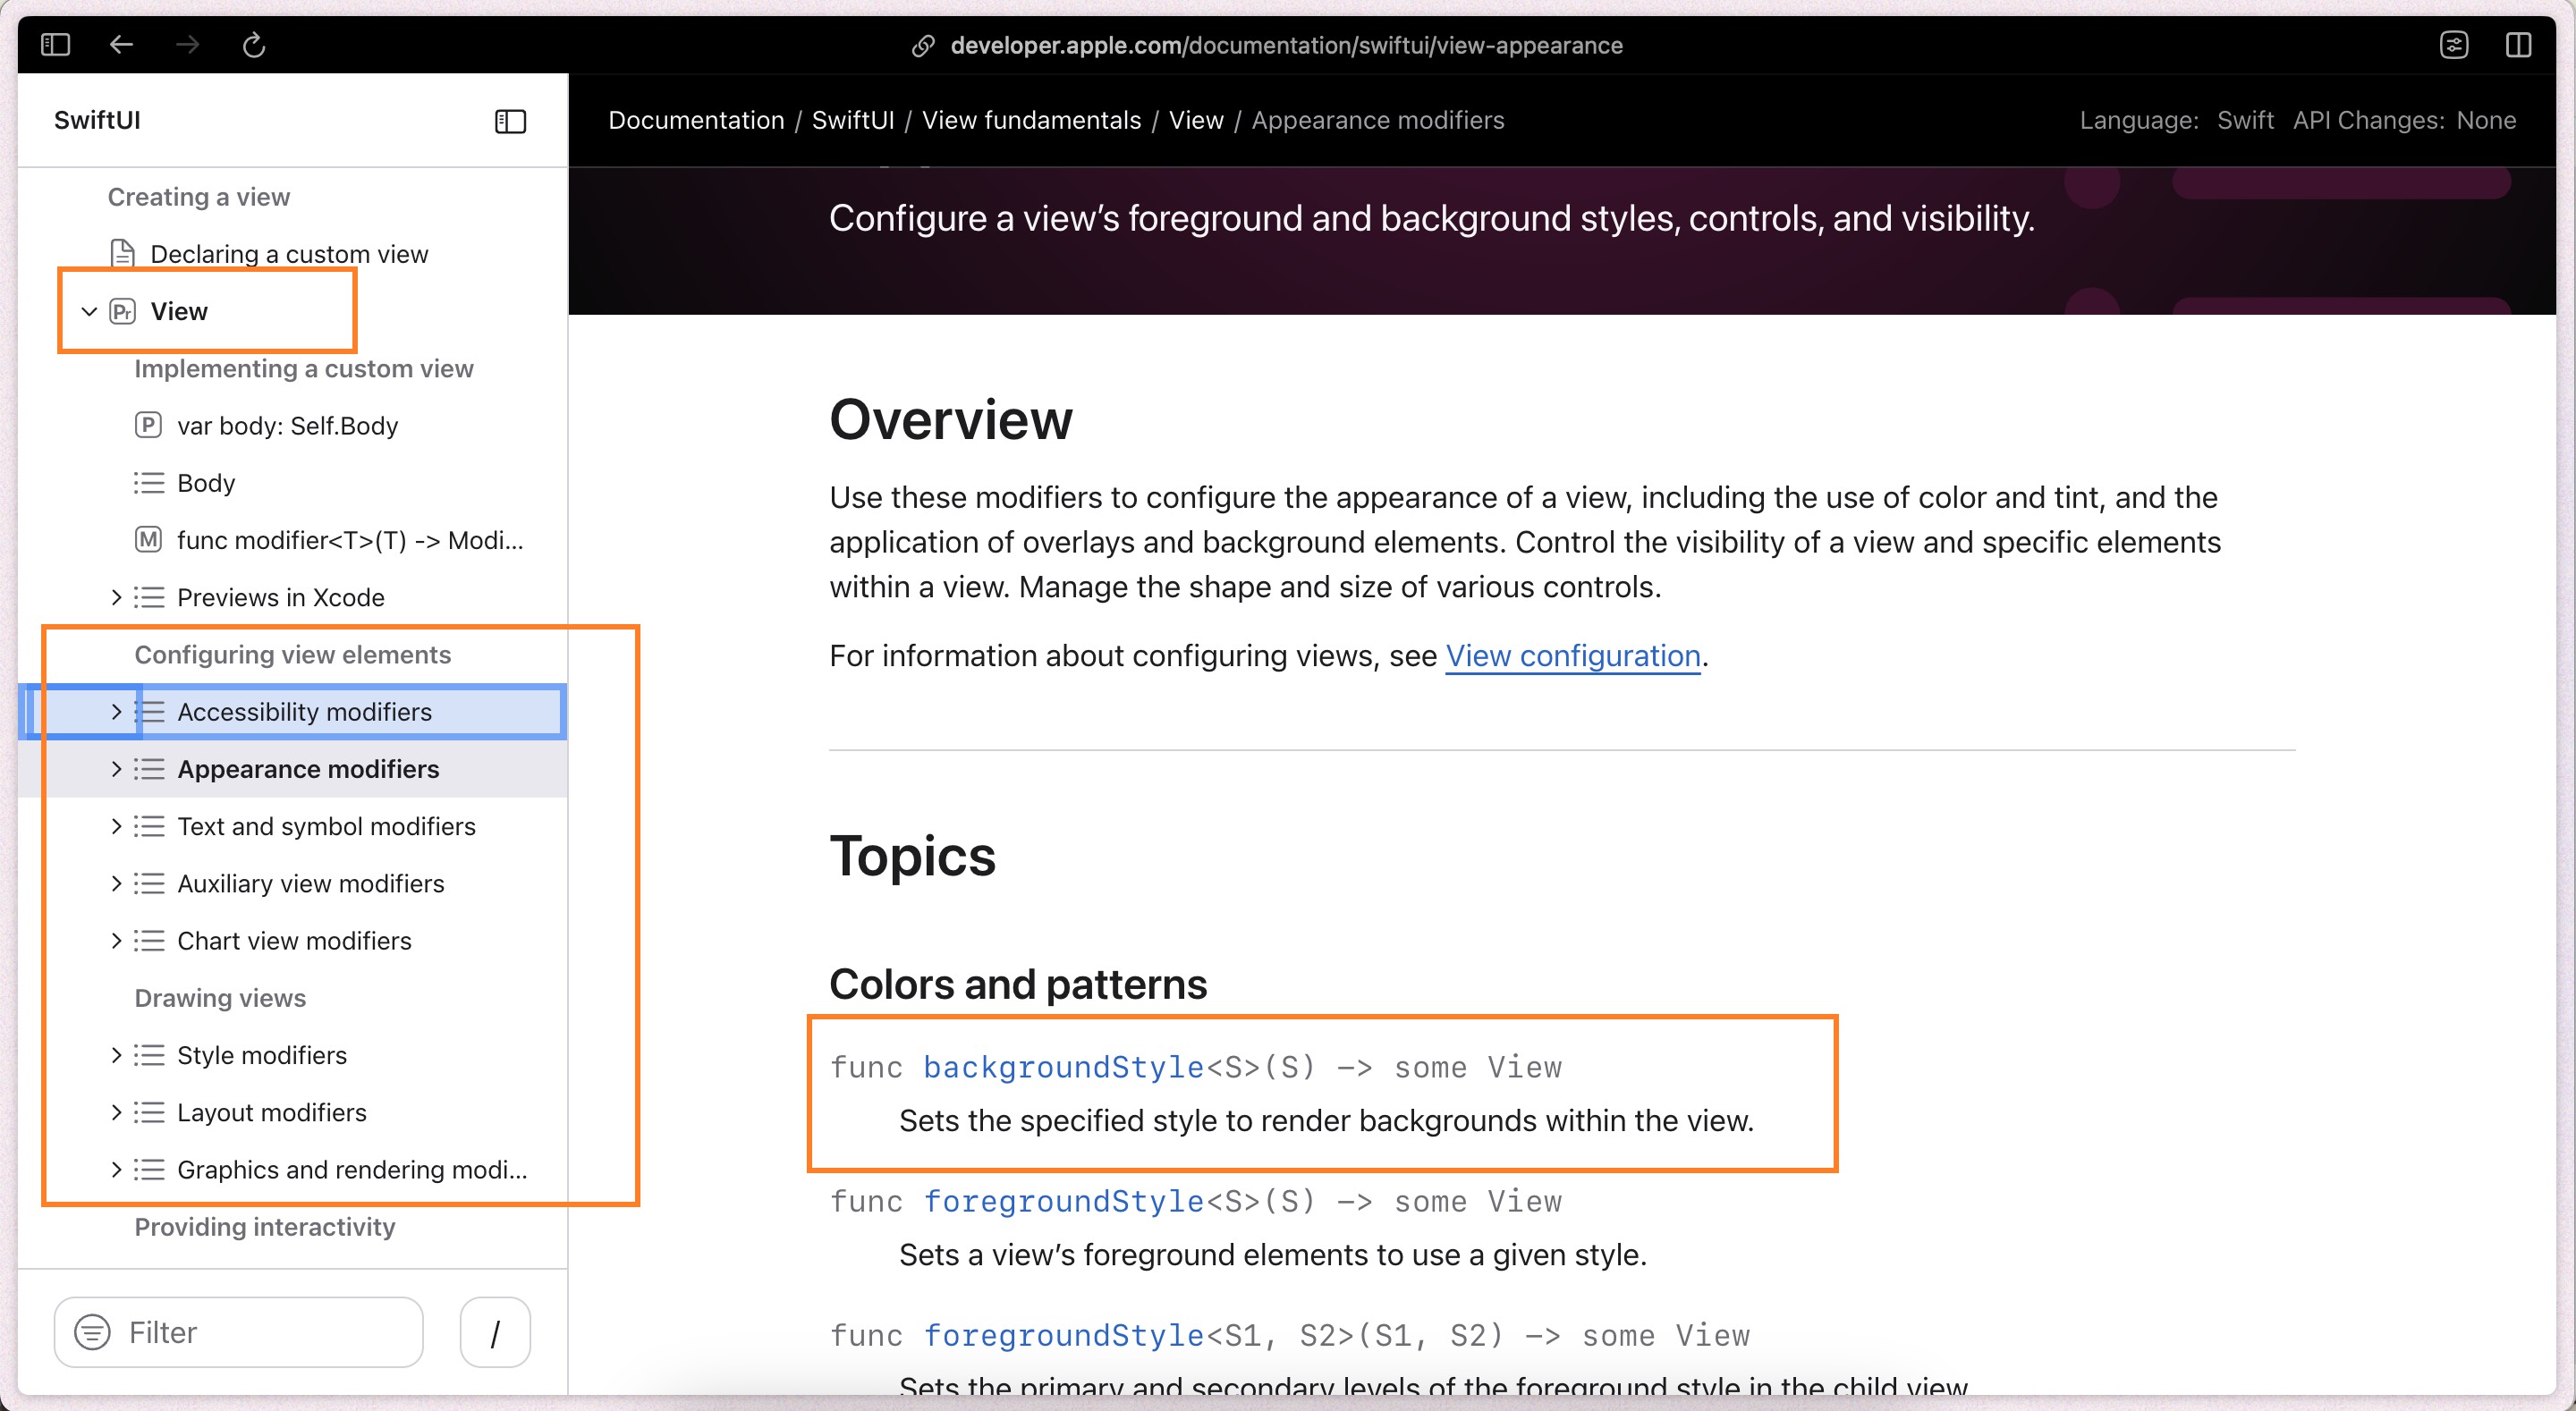
看 clipShape 的签名:
func clipShape<S>(
    _ shape: S,
    style: FillStyle = FillStyle()
) -> some View where S : Shape
-
style 有默认值可以不填, shape 没有默认值, 所以主要看 shape.
-
shape 为类型 S 即符合 协议 Shape 的任何对象都可以, 那就看看 Shape 协议是什么.
-
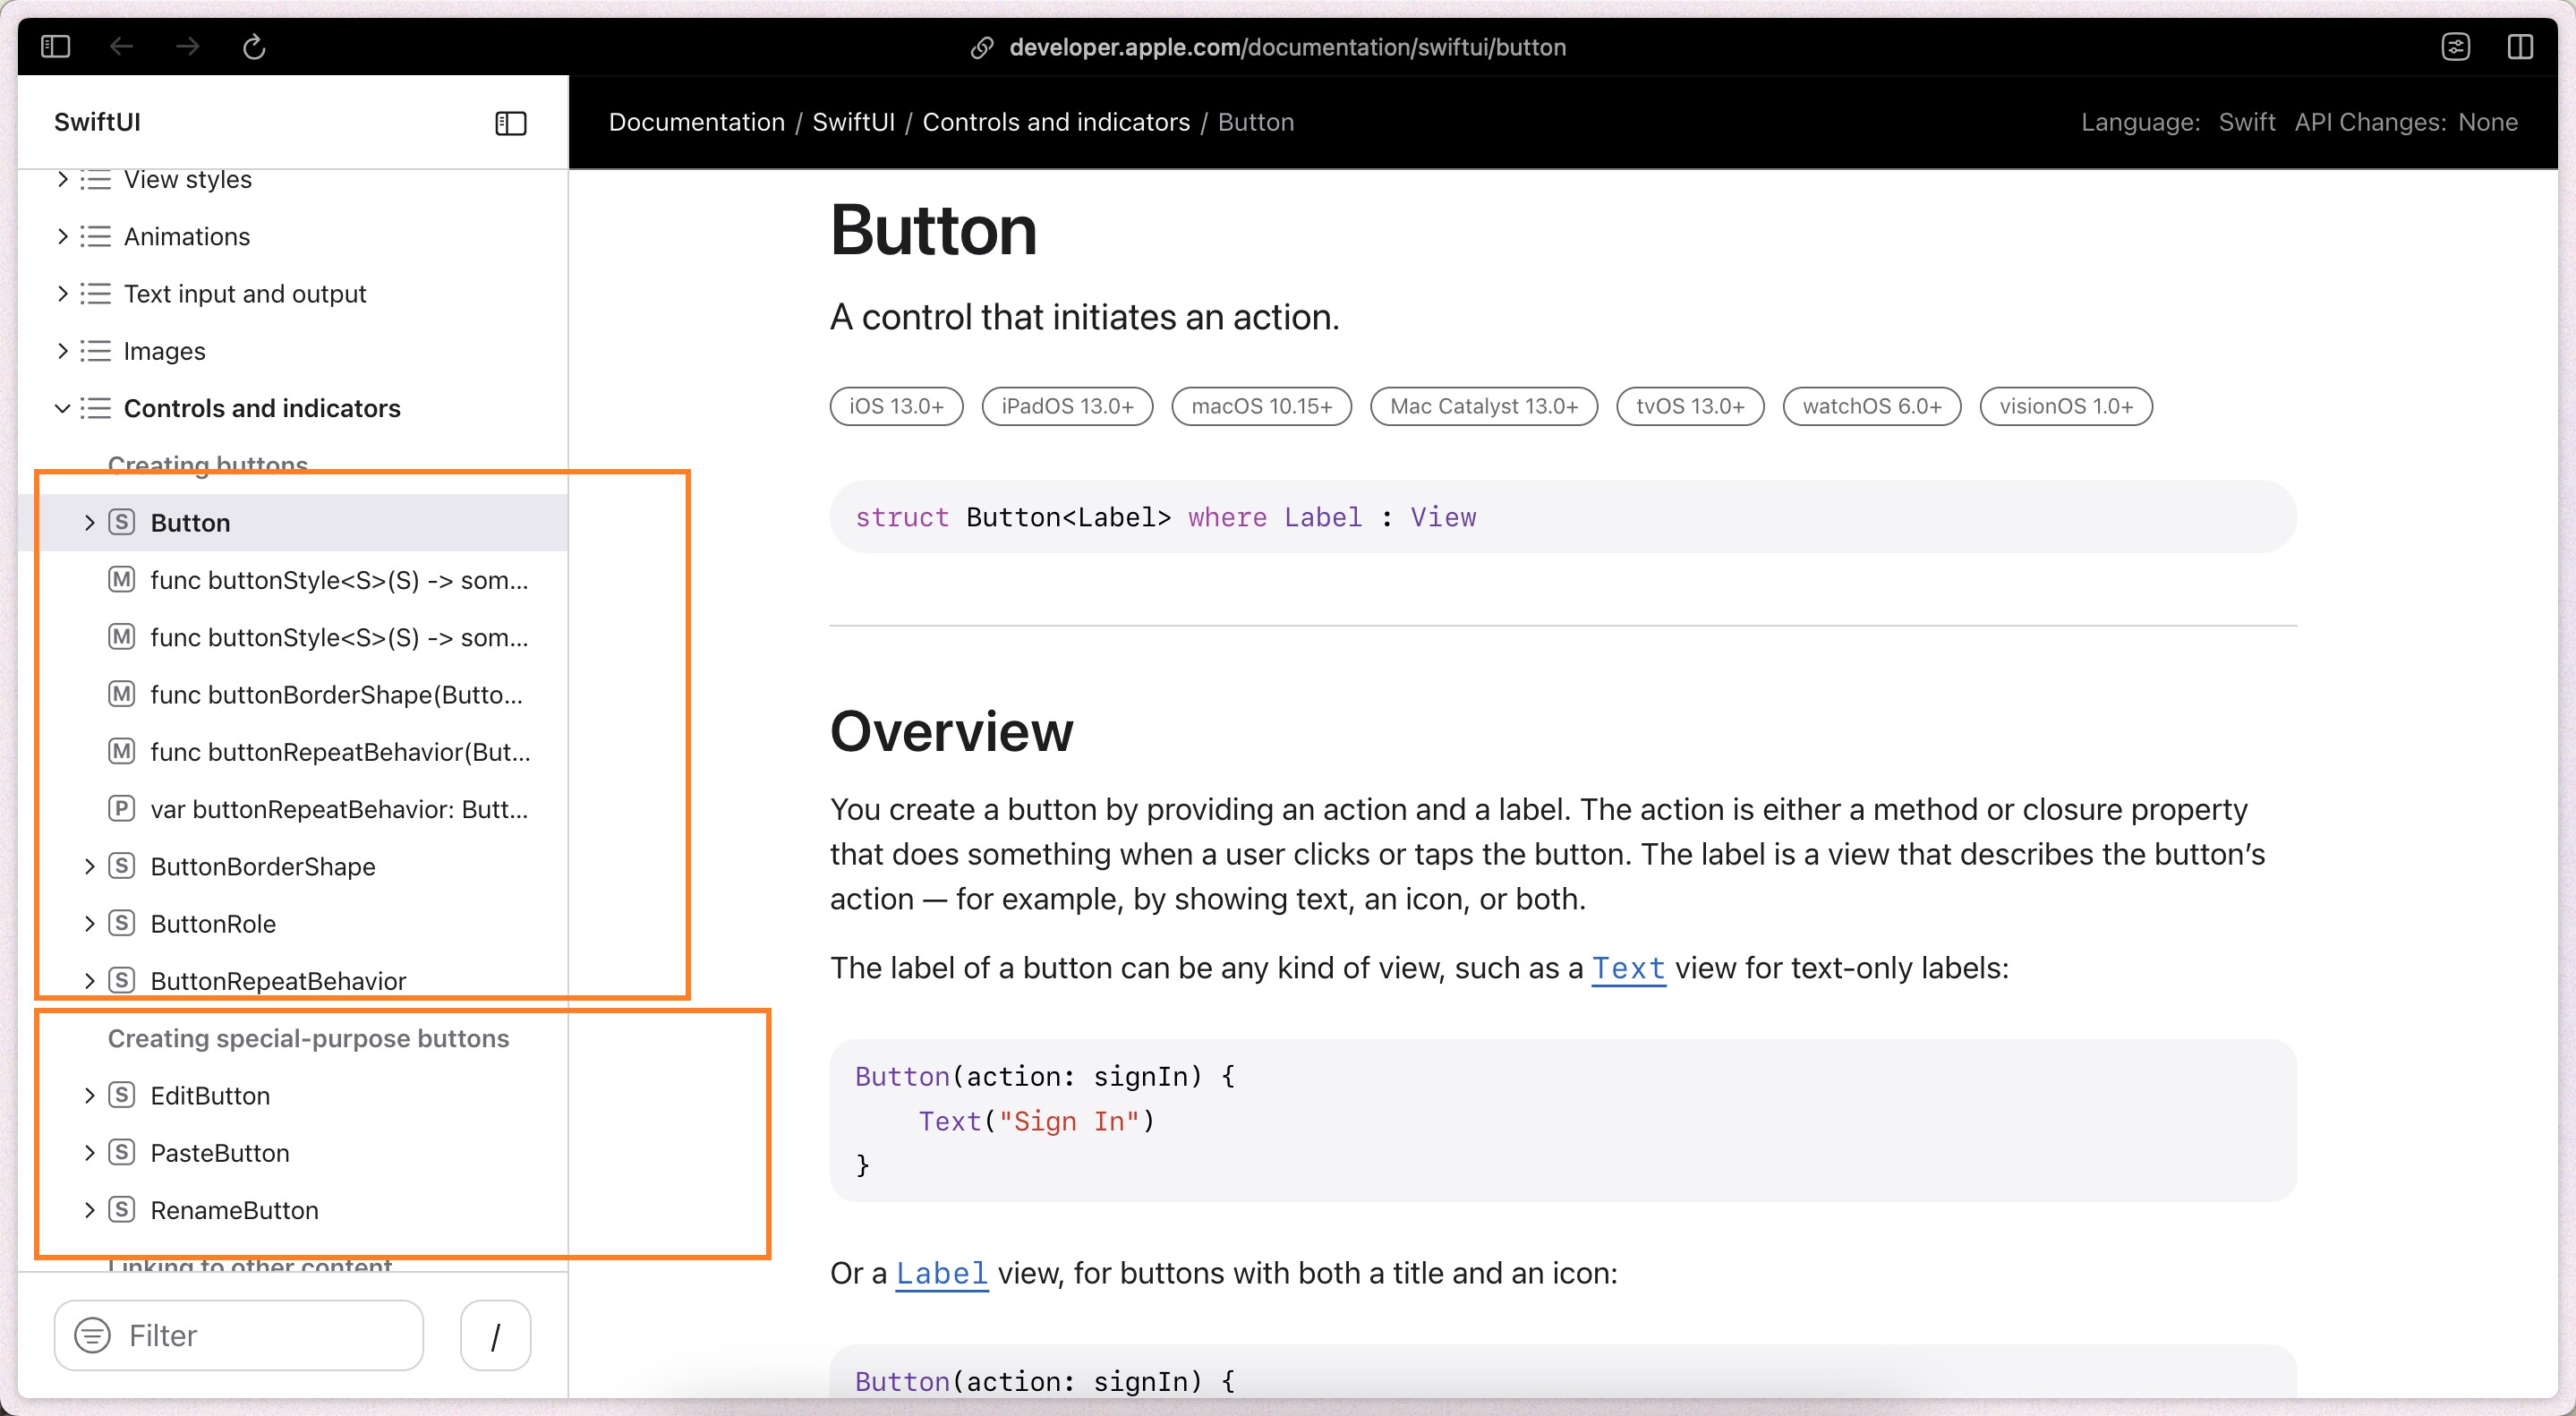
打开开发者文档, 找到 Shape 往下拉, 找到 Conforming Types, 可以发现有好多 shape 可以使用,
-
这里选择 RoundedRectangle, 点击, 查看其初始化函数, 看看怎么创建 RoundedRectangle 对象
-
有两个初始化函数, 这里选择
init(cornerSize: CGSize, style: RoundedCornerStyle = .continuous) -
两个参数, cornerSize 不可省略, 查看
CGSize构造函数:init(width: Float, height: Float) -
最后创建出圆角矩形:
.clipShape(RoundedRectangle(cornerSize: CGSize(width: 10, height: 10)))
5. 读文档找 modifiers#
首先, 所有的组件都是 View, 所以下面的 modifier 都可以使用, 比如背景图, 字体颜色, 显示形状 等等, 可以在这找, 如果找某个 view 特有的组件, 那就找那个组件, 然后就可以找到属于它的 modifiers,
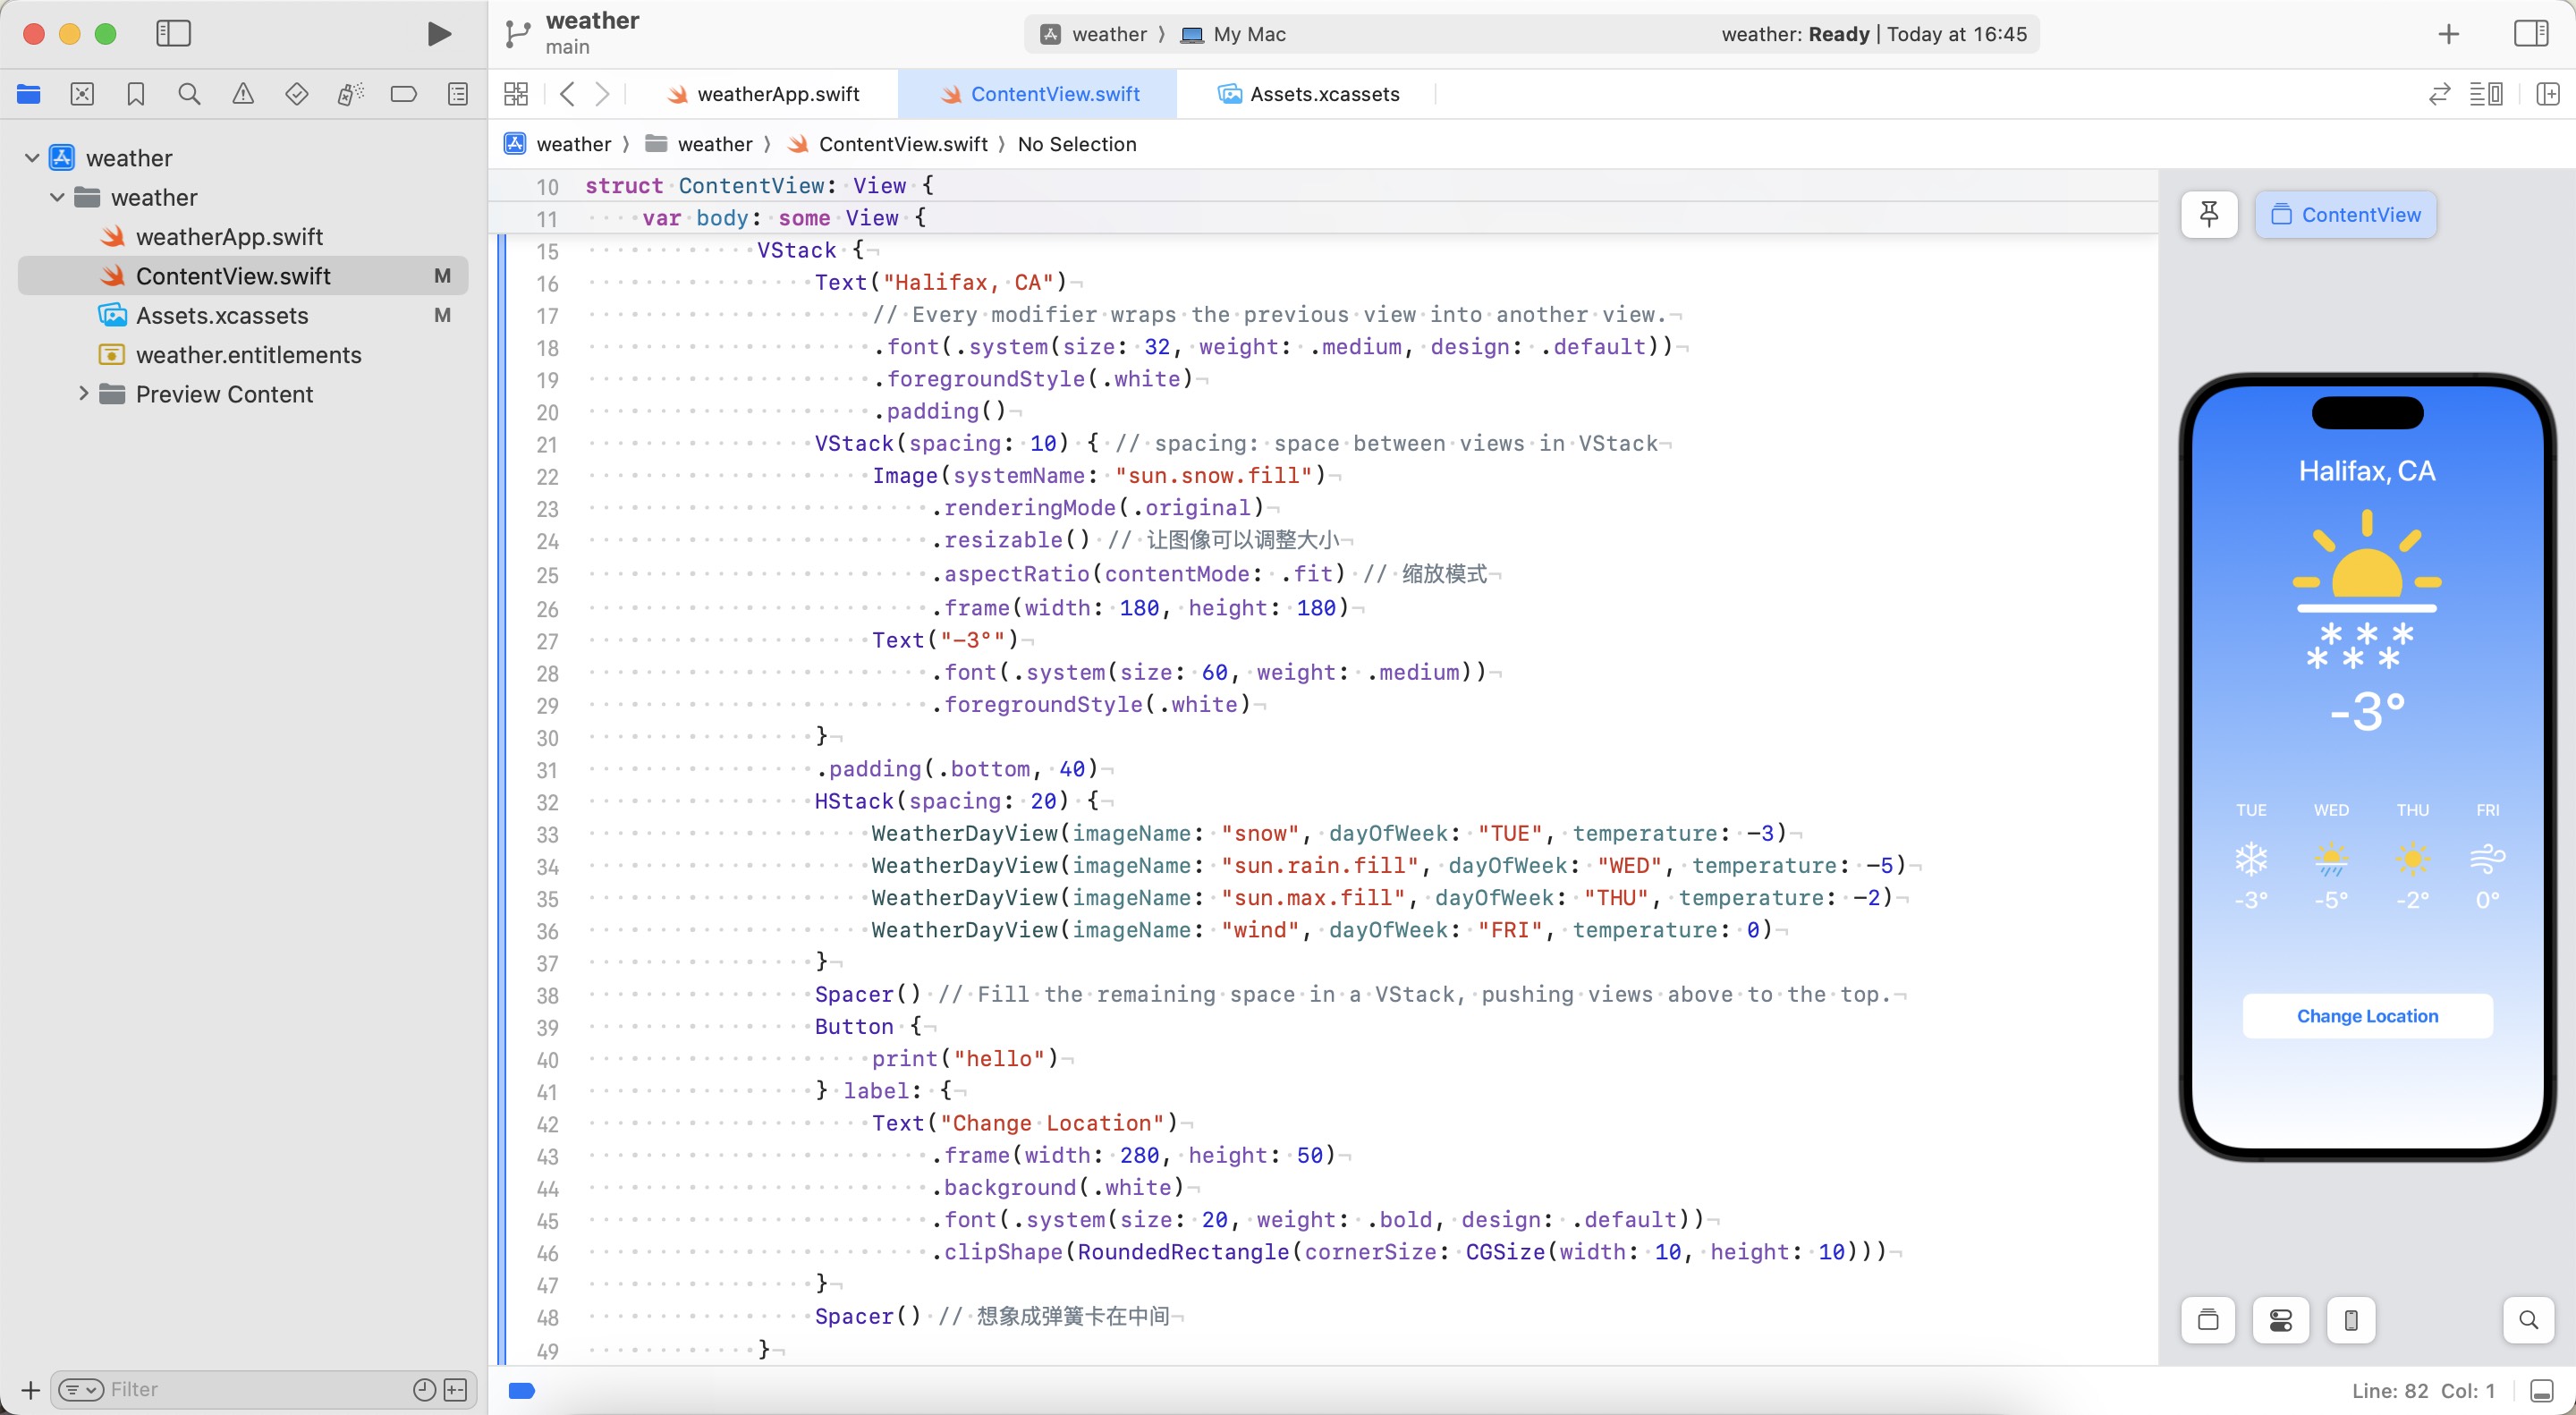
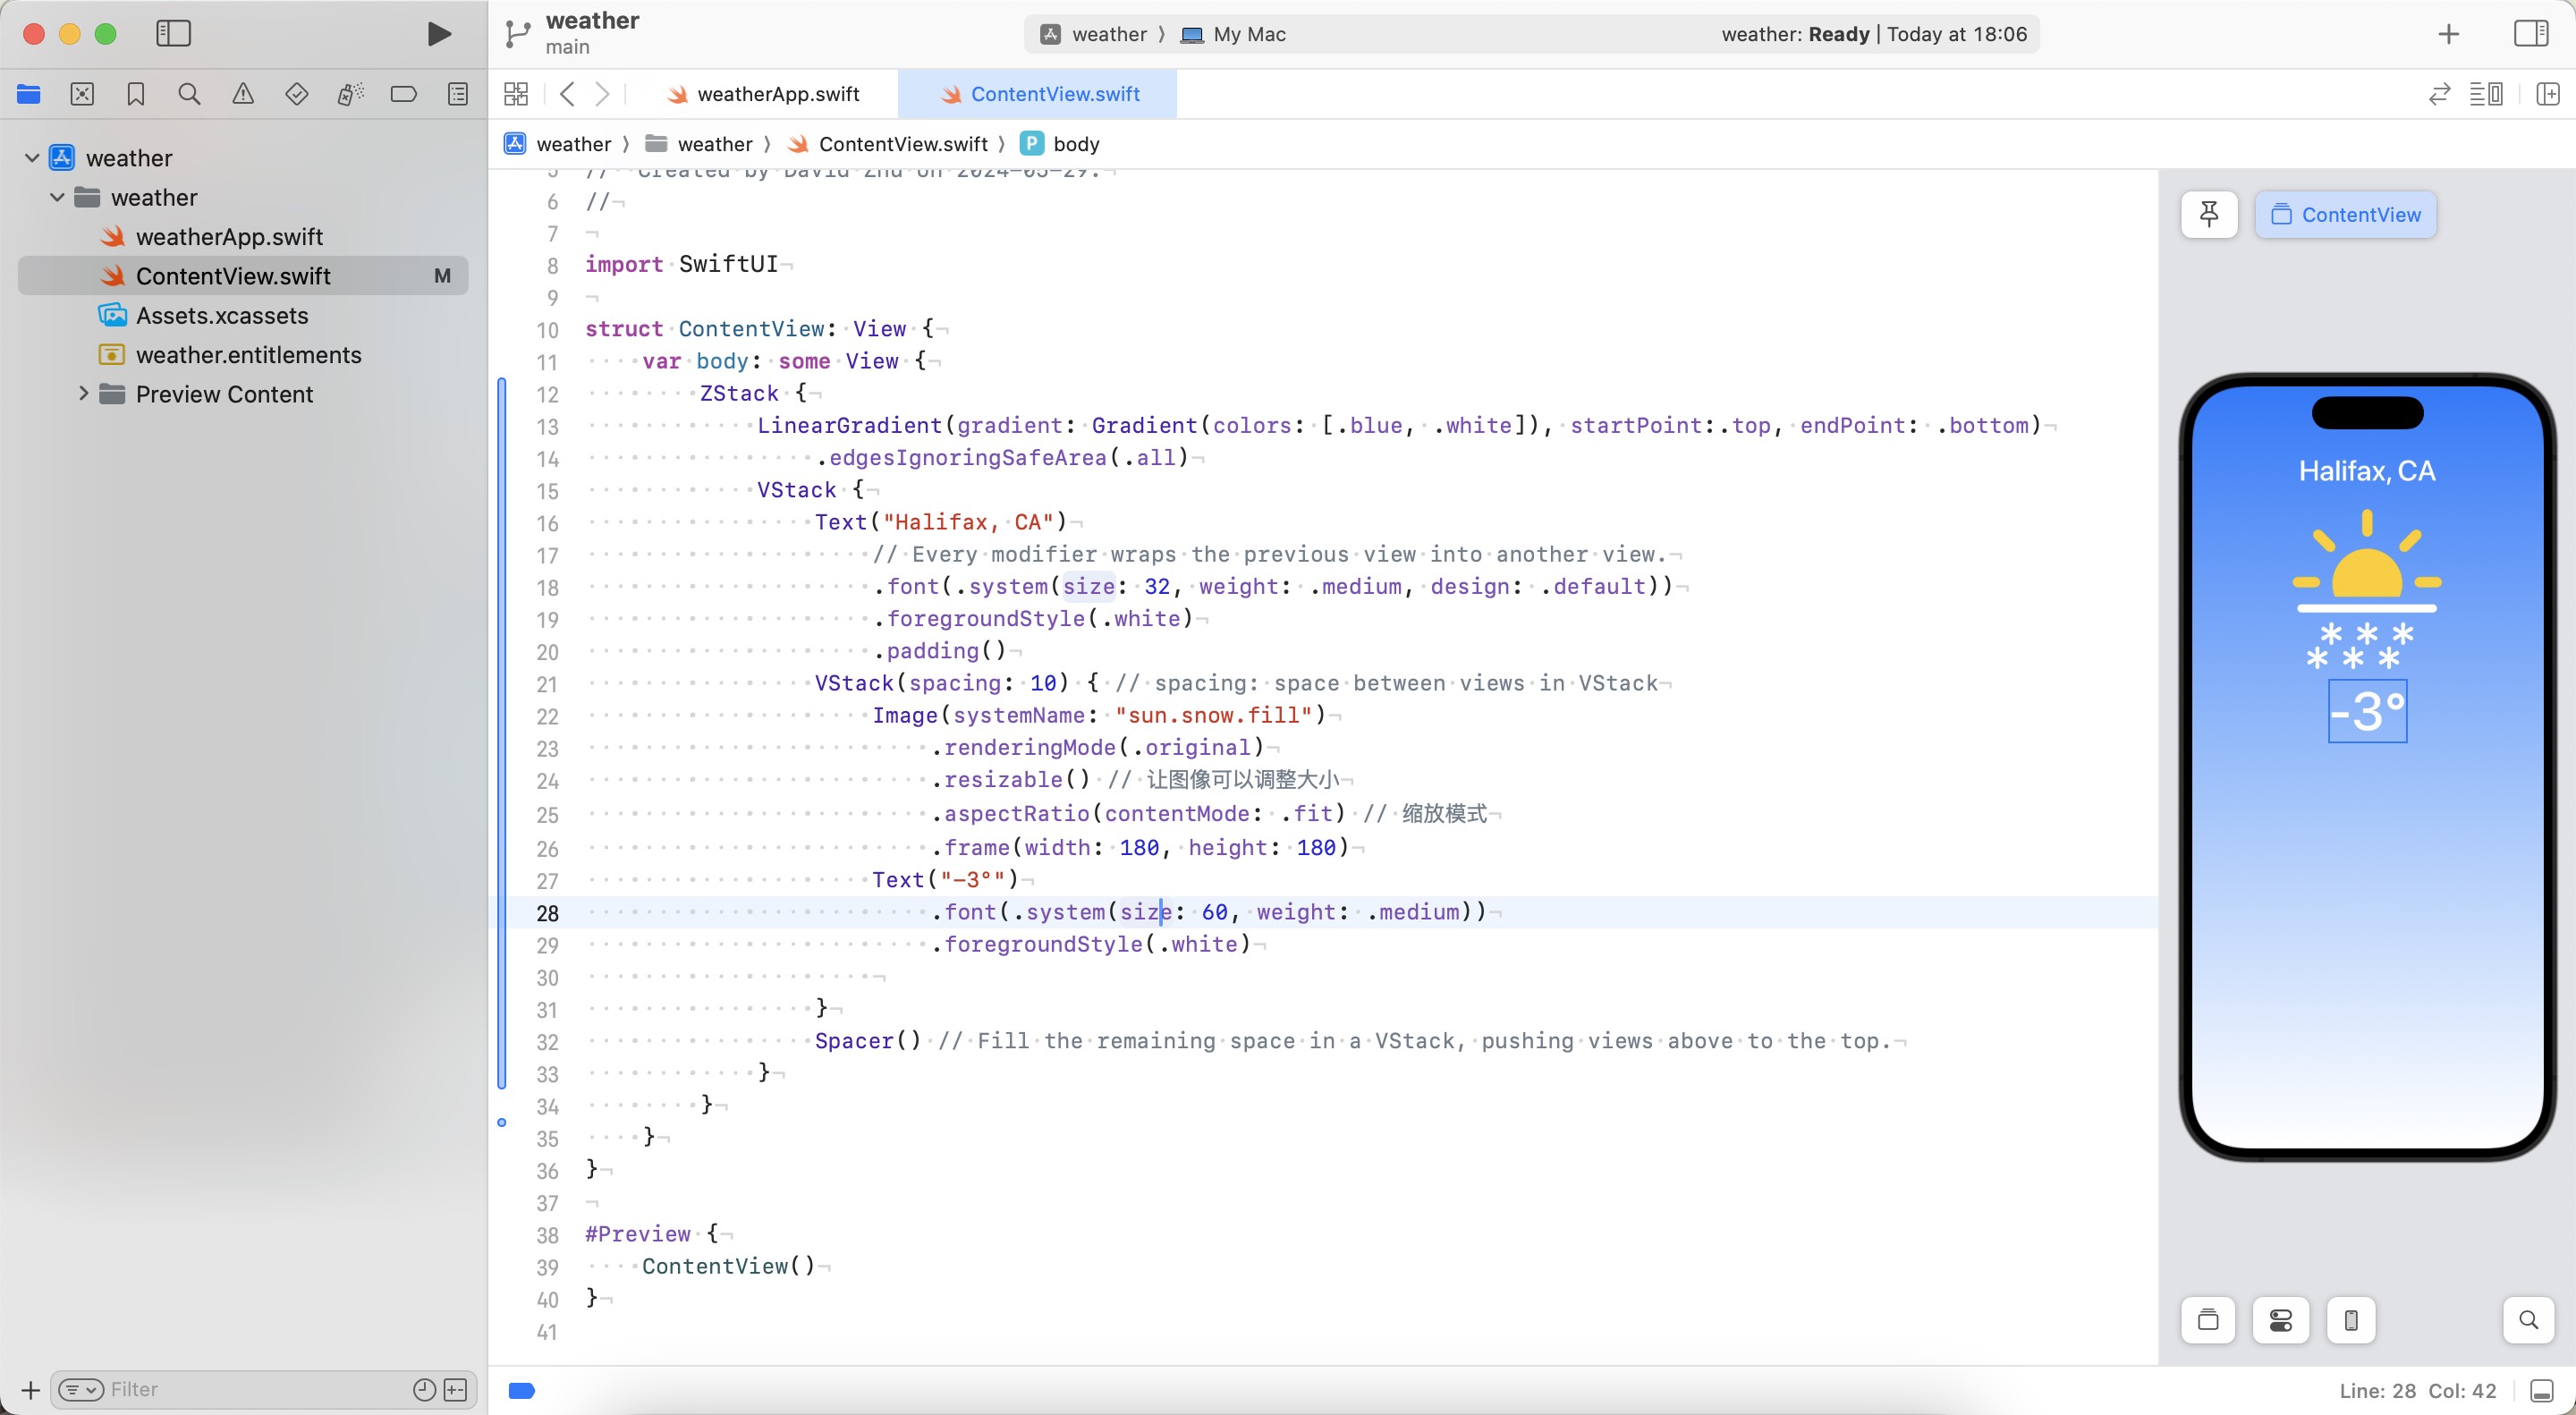
6. 练习代码#
struct ContentView: View {
    var body: some View {
        ZStack {
            LinearGradient(gradient: Gradient(colors: [.blue, .white]), startPoint:.top, endPoint: .bottom)
                .edgesIgnoringSafeArea(.all)
            VStack {
                Text("Halifax, CA")
                    // Every modifier wraps the previous view into another view.
                    .font(.system(size: 32, weight: .medium, design: .default))
                    .foregroundStyle(.white)
                    .padding()
                VStack(spacing: 10) { // spacing: space between views in VStack
                    Image(systemName: "sun.snow.fill")
                        .renderingMode(.original)
                        .resizable() // 让图像可以调整大小
                        .aspectRatio(contentMode: .fit) // 缩放模式
                        .frame(width: 180, height: 180)
                    Text("-3°")
                        .font(.system(size: 60, weight: .medium))
                        .foregroundStyle(.white)
                }
                .padding(.bottom, 40)
                HStack(spacing: 20) {
                    WeatherDayView(imageName: "snow", dayOfWeek: "TUE", temperature: -3)
                    WeatherDayView(imageName: "sun.rain.fill", dayOfWeek: "WED", temperature: -5)
                    WeatherDayView(imageName: "sun.max.fill", dayOfWeek: "THU", temperature: -2)
                    WeatherDayView(imageName: "wind", dayOfWeek: "FRI", temperature: 0)
                }
                Spacer() // Fill the remaining space in a VStack, pushing views above to the top.
                Button {
                    print("hello")
                } label: {
                    Text("Change Location")
                        .frame(width: 280, height: 50)
                        .background(.white)
                        .font(.system(size: 20, weight: .bold, design: .default))
                        .clipShape(RoundedRectangle(cornerSize: CGSize(width: 10, height: 10)))
                }
                Spacer() // 想象成弹簧卡在中间
            }
        }
    }
}

struct WeatherDayView: View {
    var imageName: String
    var dayOfWeek: String
    var temperature: Int

    var body: some View {
        VStack {
            Text(dayOfWeek)
                .font(.system(size: 18, weight: .medium, design: .default))
                .foregroundStyle(.white)
                .padding()
            VStack(spacing: 10) {
                Image(systemName: imageName)
                    .renderingMode(.original)
                    .resizable()
                    .aspectRatio(contentMode: .fit)
                    .frame(width: 40, height: 40)
                Text("\(temperature)°")
                    .font(.system(size: 26, weight: .medium))
                    .foregroundStyle(.white)
            }
        }
    }
}

#Preview {
    ContentView()
}
效果图: