零碎知识 + 踩坑 - SwiftUI
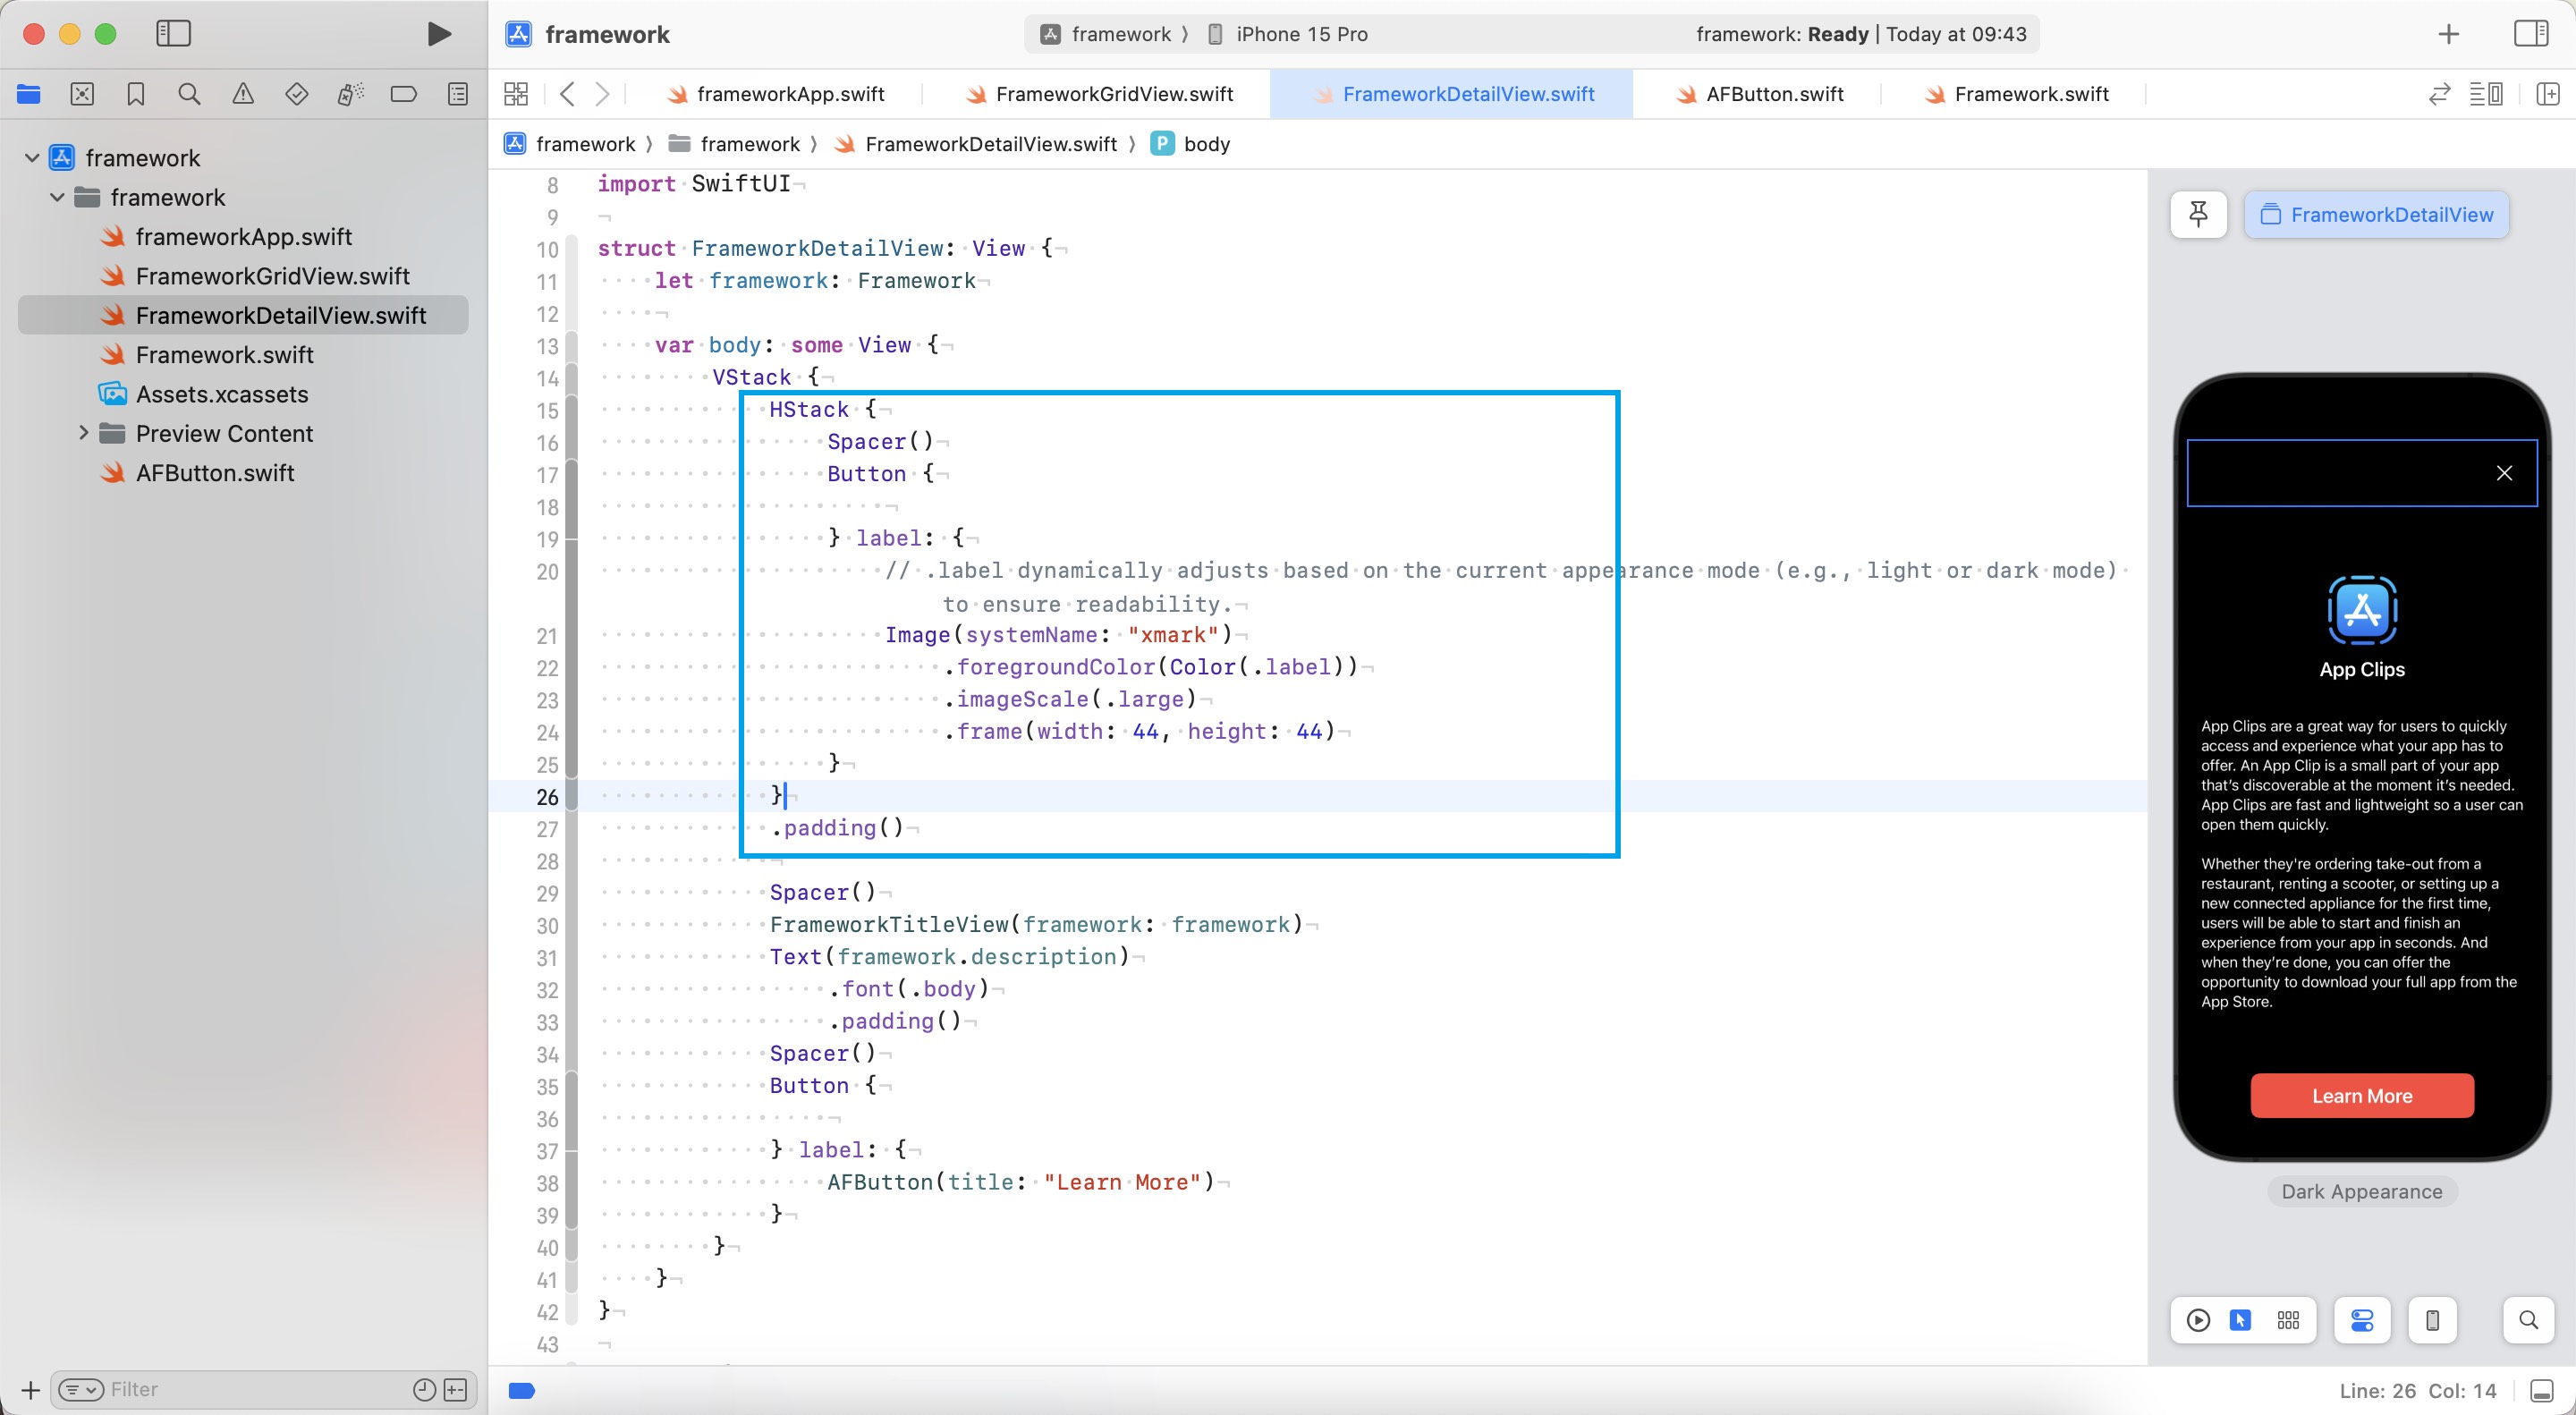
1. 使用 HStack 水平排列#
注意: Button 直接放入 VStack, 默认会在中间,
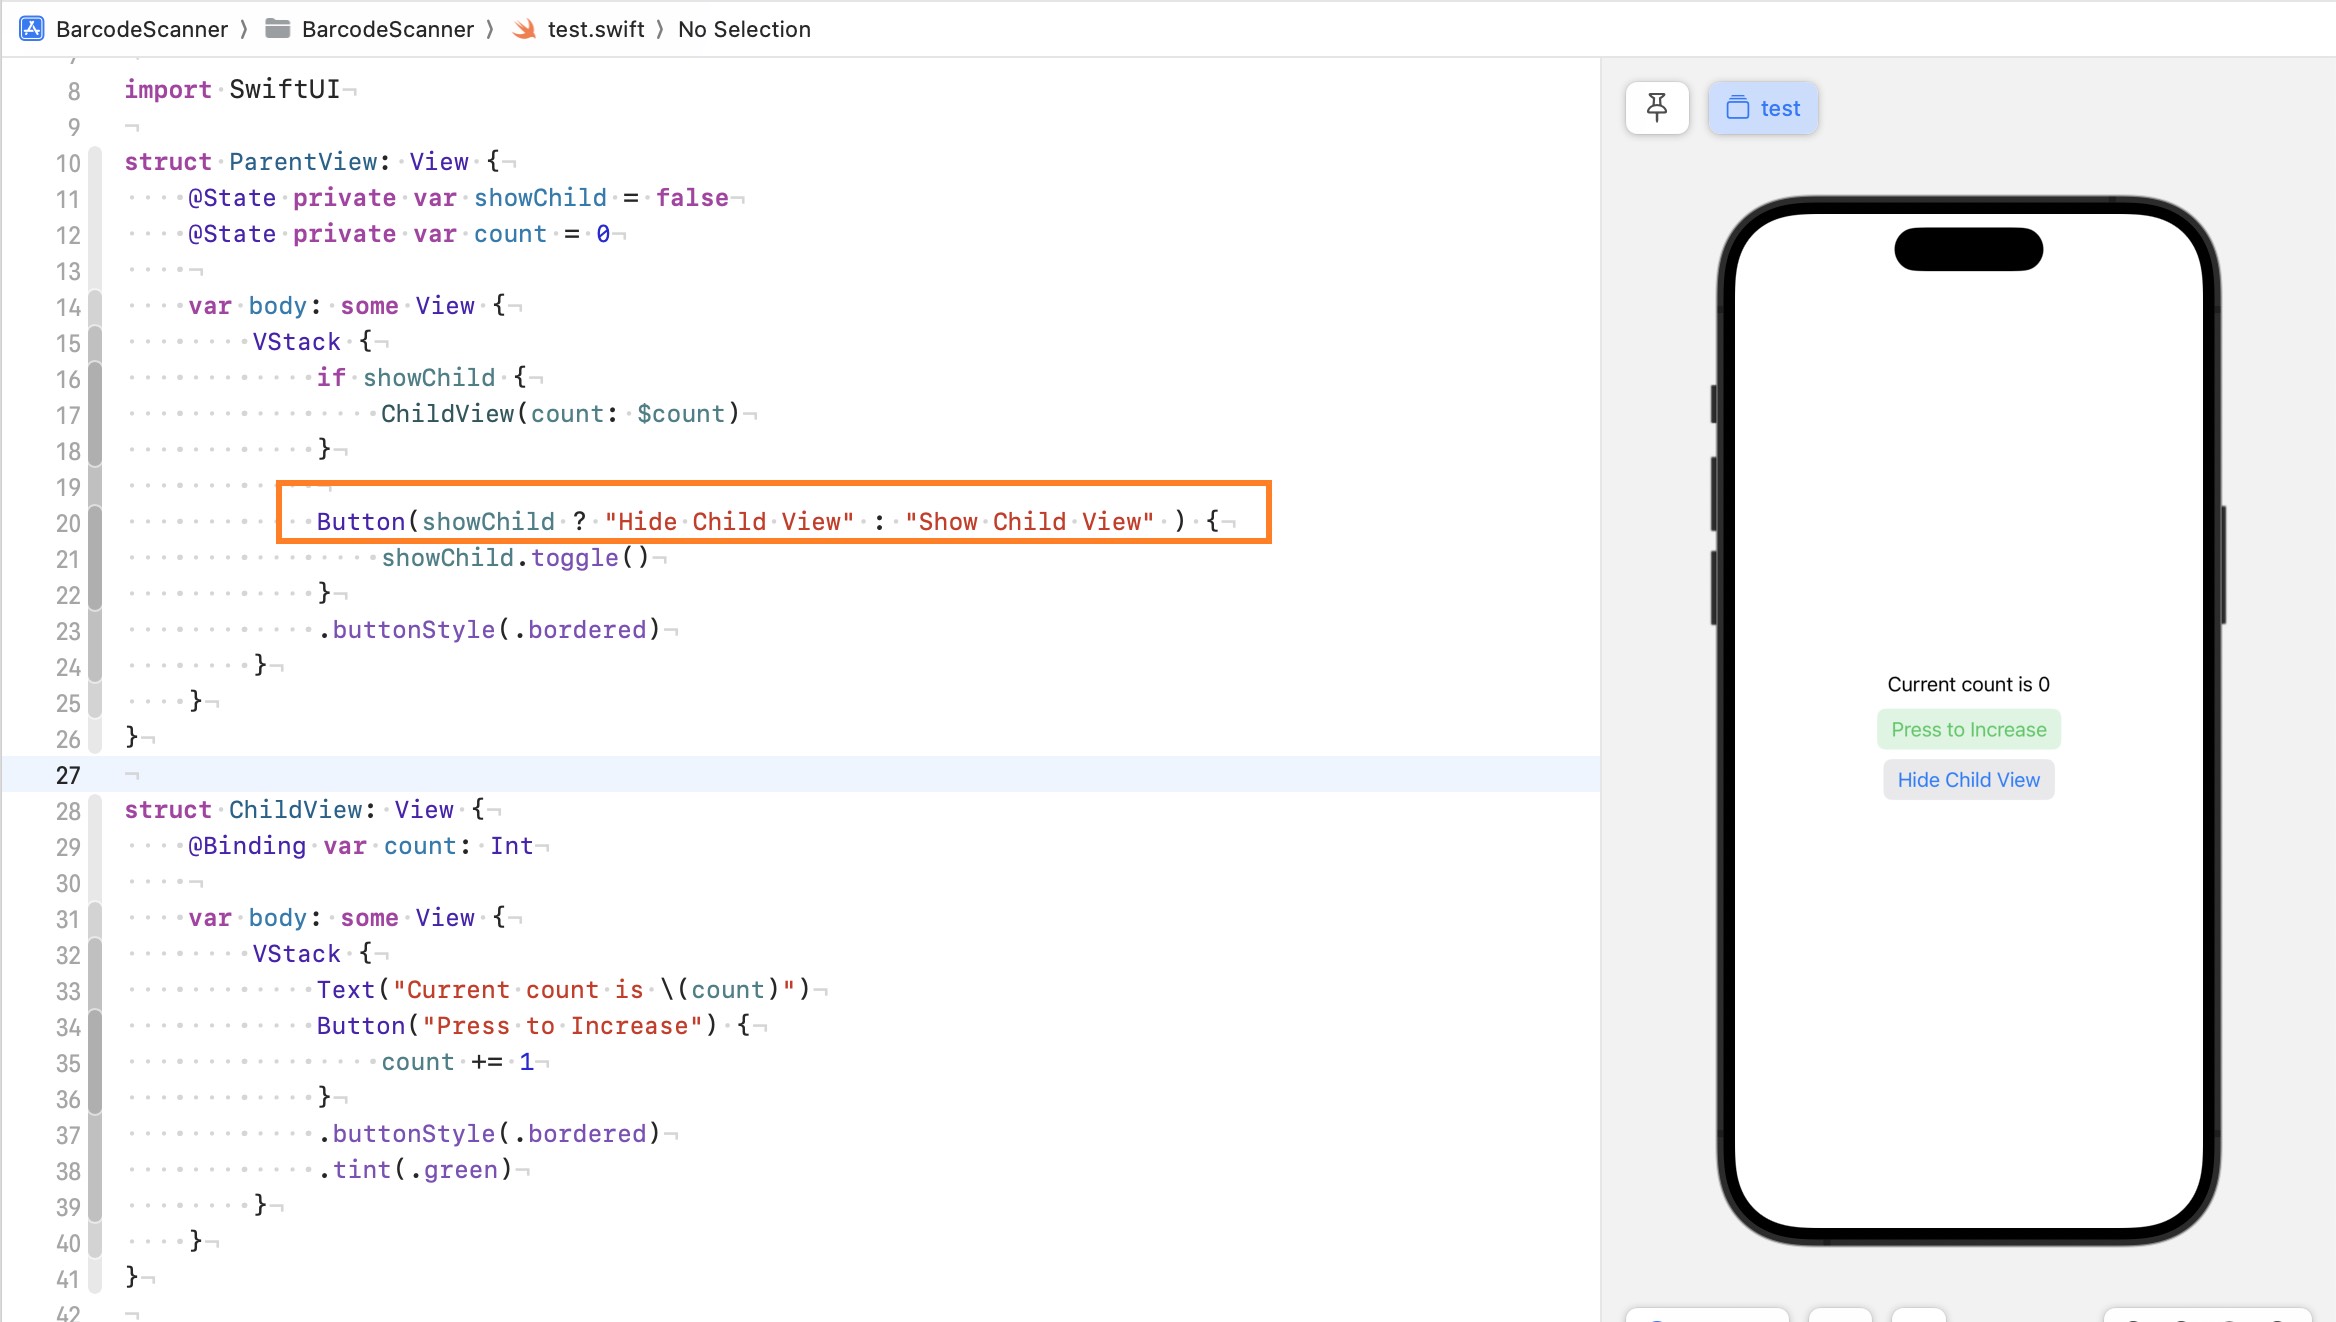
2. 擅用三元操作符#
刚开始想到的是新增一个 buttonName 属性, button 被点击时根据 showChild 来修改 buttonName 的值, 这样太麻烦了.
3. NavigationLink 内 Button 点击不会生效#
NavigationLink (destination: ...) {
    ReminderCatagoryView(reminderCount: allReminders.count, catagoryName: "All")
}

ReminderCatagoryView {
  var body: some view {
    ...
    Image(systemName: "flag.slash")
    .onTapGesture(perform: onDropped) // 使用onTapGesture
  }
}
4. 隐藏 NavigationLink 的箭头#
List {
    ForEach(elements) { element in
        ZStack {
            CustomView(element: element)
            NavigationLink(destination: DestinationView()) {
                EmptyView()
            }.opacity(0.0)
        }
    }
}
https://stackoverflow.com/a/68779379/16317008
5. 使用 SwiftData Predicate 的 View 不可以直接放到 NavigationStack 中#
// 加一层 DummyView()
struct ContentView: View {
    var body: some View {
        NavigationStack {
            DummyView()
        }
    }
}

struct DummyView: View {
    var body: some View {
        ListsView()
    }
}

struct ListsView: View {
    @Environment(\.modelContext) private var modelContext
    @Query(filter: #Predicate<Item> { _ in true })
		// ...
}
6. List Item 宽度填满屏幕#
List {
    ...
}
.listStyle(PlainListStyle())
7. 本地后台通知 badge 数目#
被新出的接口 setBadgeCount(_ newBadgeCount: Int) 误导了, 想着维护一个本地 count, 每次通知来了增加一, 可是 UNUserNotificationCenterDelegate 压根没有 应用在后台时 来新通知 的回调函数, 只有下面这个两个:
userNotificationCenter(_ center:, willPresent:): get called the app was running in the foreground.userNotificationCenter(_ center:, didReceive:): get called user interact with the notification.
苦逼的我苦苦思索了一下午不得解, 最后还是用了原来的旧方法:
func createNotificationContent(for reminder: Reminder) -> UNMutableNotificationContent {
    let content = UNMutableNotificationContent()
    content.title = "有任务要做啦"
    content.body = reminder.title
    content.sound = .default
    // 'applicationIconBadgeNumber' was deprecated in iOS 17.0: Use -[UNUserNotificationCenter setBadgeCount:withCompletionHandler:] instead.
    content.badge = NSNumber(value: UIApplication.shared.applicationIconBadgeNumber + 1)
    return content
}
8. 监控从后台进入主页面事件#
除了 scene delegate, 比较简单的方法是使用 onReceive() modifier,
@main
struct todolistApp: App {
    var body: some Scene {
        WindowGroup {
            HomeView()
                .onReceive(NotificationCenter.default.publisher(
                  for: UIApplication.didBecomeActiveNotification)) { _ in
                    NotificationManager.clearBadges()
                }
        }
    }
}
9. 强制更新页面#
var body: some View {
    NavigationStack {
        ...
    }
    .id(refreshID)
    .onReceive(willEnterForegroundNotification) { _ in
        refreshID = UUID()
    }
}

private var willEnterForegroundNotification: NotificationCenter.Publisher {
    NotificationCenter.default.publisher(for: UIApplication.willEnterForegroundNotification)
}
10. Group#
However, it performs an important purpose as a transparent layout container: it gives us the ability to add SwiftUI modifiers to multiple views without changing their layout, or send back multiple views without using @ViewBuilder.
Using groups as transparent layout containers - a free Hacking with iOS: SwiftUI Edition tutorial
11. NavigationStack Modifiers Issues#
Modifier Placement: All modifiers should be applied to the direct child view of the NavigationStack, not to the NavigationStack itself. .overly(alignment: .bottomLeading) {...}, .searchable(text: $searchText), .navigationTitle("...").
Persistent Views: Any view or control added directly to the NavigationStack will appear on every page within that navigation context, regardless of how deep you navigate.
12. 按钮不容易点击成功#
Menu {
    menuContent
} label: {
    Image(systemName: "ellipsis")
        .foregroundColor(.secondary)
        .padding() // 增加图标那边距, 直接增加 Menu 内边距无效果.
        // 或者使用: .frame(width: 44, height: 44)
}
13. GeometryReader side effect: expand space#
GeometryReader has an interesting side effect that might catch you out at first: the view that gets returned has a flexible preferred size, which means it will expand to take up more space as needed. You can see this in action if you place the GeometryReader into a VStack then put some more text below it, like this:
struct ContentView: View {
    var body: some View {
        VStack {
            GeometryReader { proxy in
                Text("Hello, World!")
                    .frame(width: proxy.size.width * 0.9, height: 40)
                    .background(.red)
            }

            Text("More text")
                .background(.blue)
        }
    }
}
References: Understanding frames and coordinates inside GeometryReader